
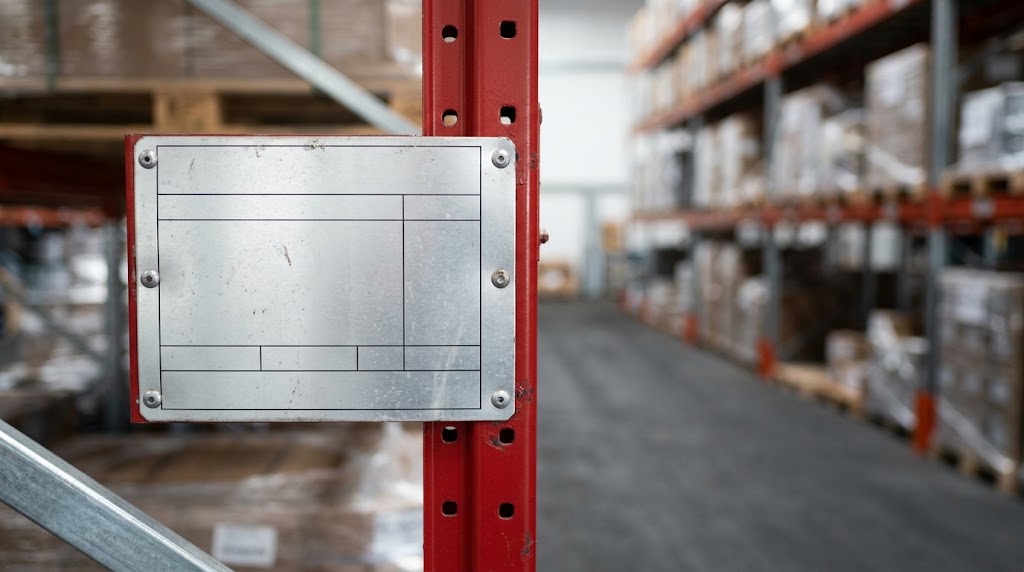
Every racking installation should have a load plate fixed to each bay or aisle end. It is the single most important piece of information on the rack, and the most often ignored.
What a load plate shows
A typical plate states the supplier, the maximum load per beam level, the maximum load per bay, and the beam positions the rating assumes. The values apply only to the layout shown. They are not general limits for “that kind of rack”.
How to read it
- Load per level (UDL or pair of pallets): the most each beam level can carry, spread as the plate describes.
- Total load per bay: the sum across all levels. Never exceed it even if each level looks fine.
- Beam heights: the rating is valid only with beams at the stated positions. Moving a beam changes the rating.
When the plate stops being valid
A plate is no longer reliable when the racking has been rearranged, extended, had components replaced with parts from another system, or taken a hit. After any impact, damaged parts must be assessed, see our inspection checklist and the EN 15635 guide.
Keep plates legible
If a plate is missing, faded or unreadable, ask the supplier for a replacement based on the installed layout. Never guess the values.
Can I add a level to an existing bay?
Only if the supplier recalculates the bay and issues a new plate. Adding a level changes the loads on the whole bay.
Is the plate a legal requirement?
EN 15635 expects load information to be displayed, and it is the first thing an inspector looks for.
Need help choosing or planning your racking? Request a free quote and our technical team will help you plan it.